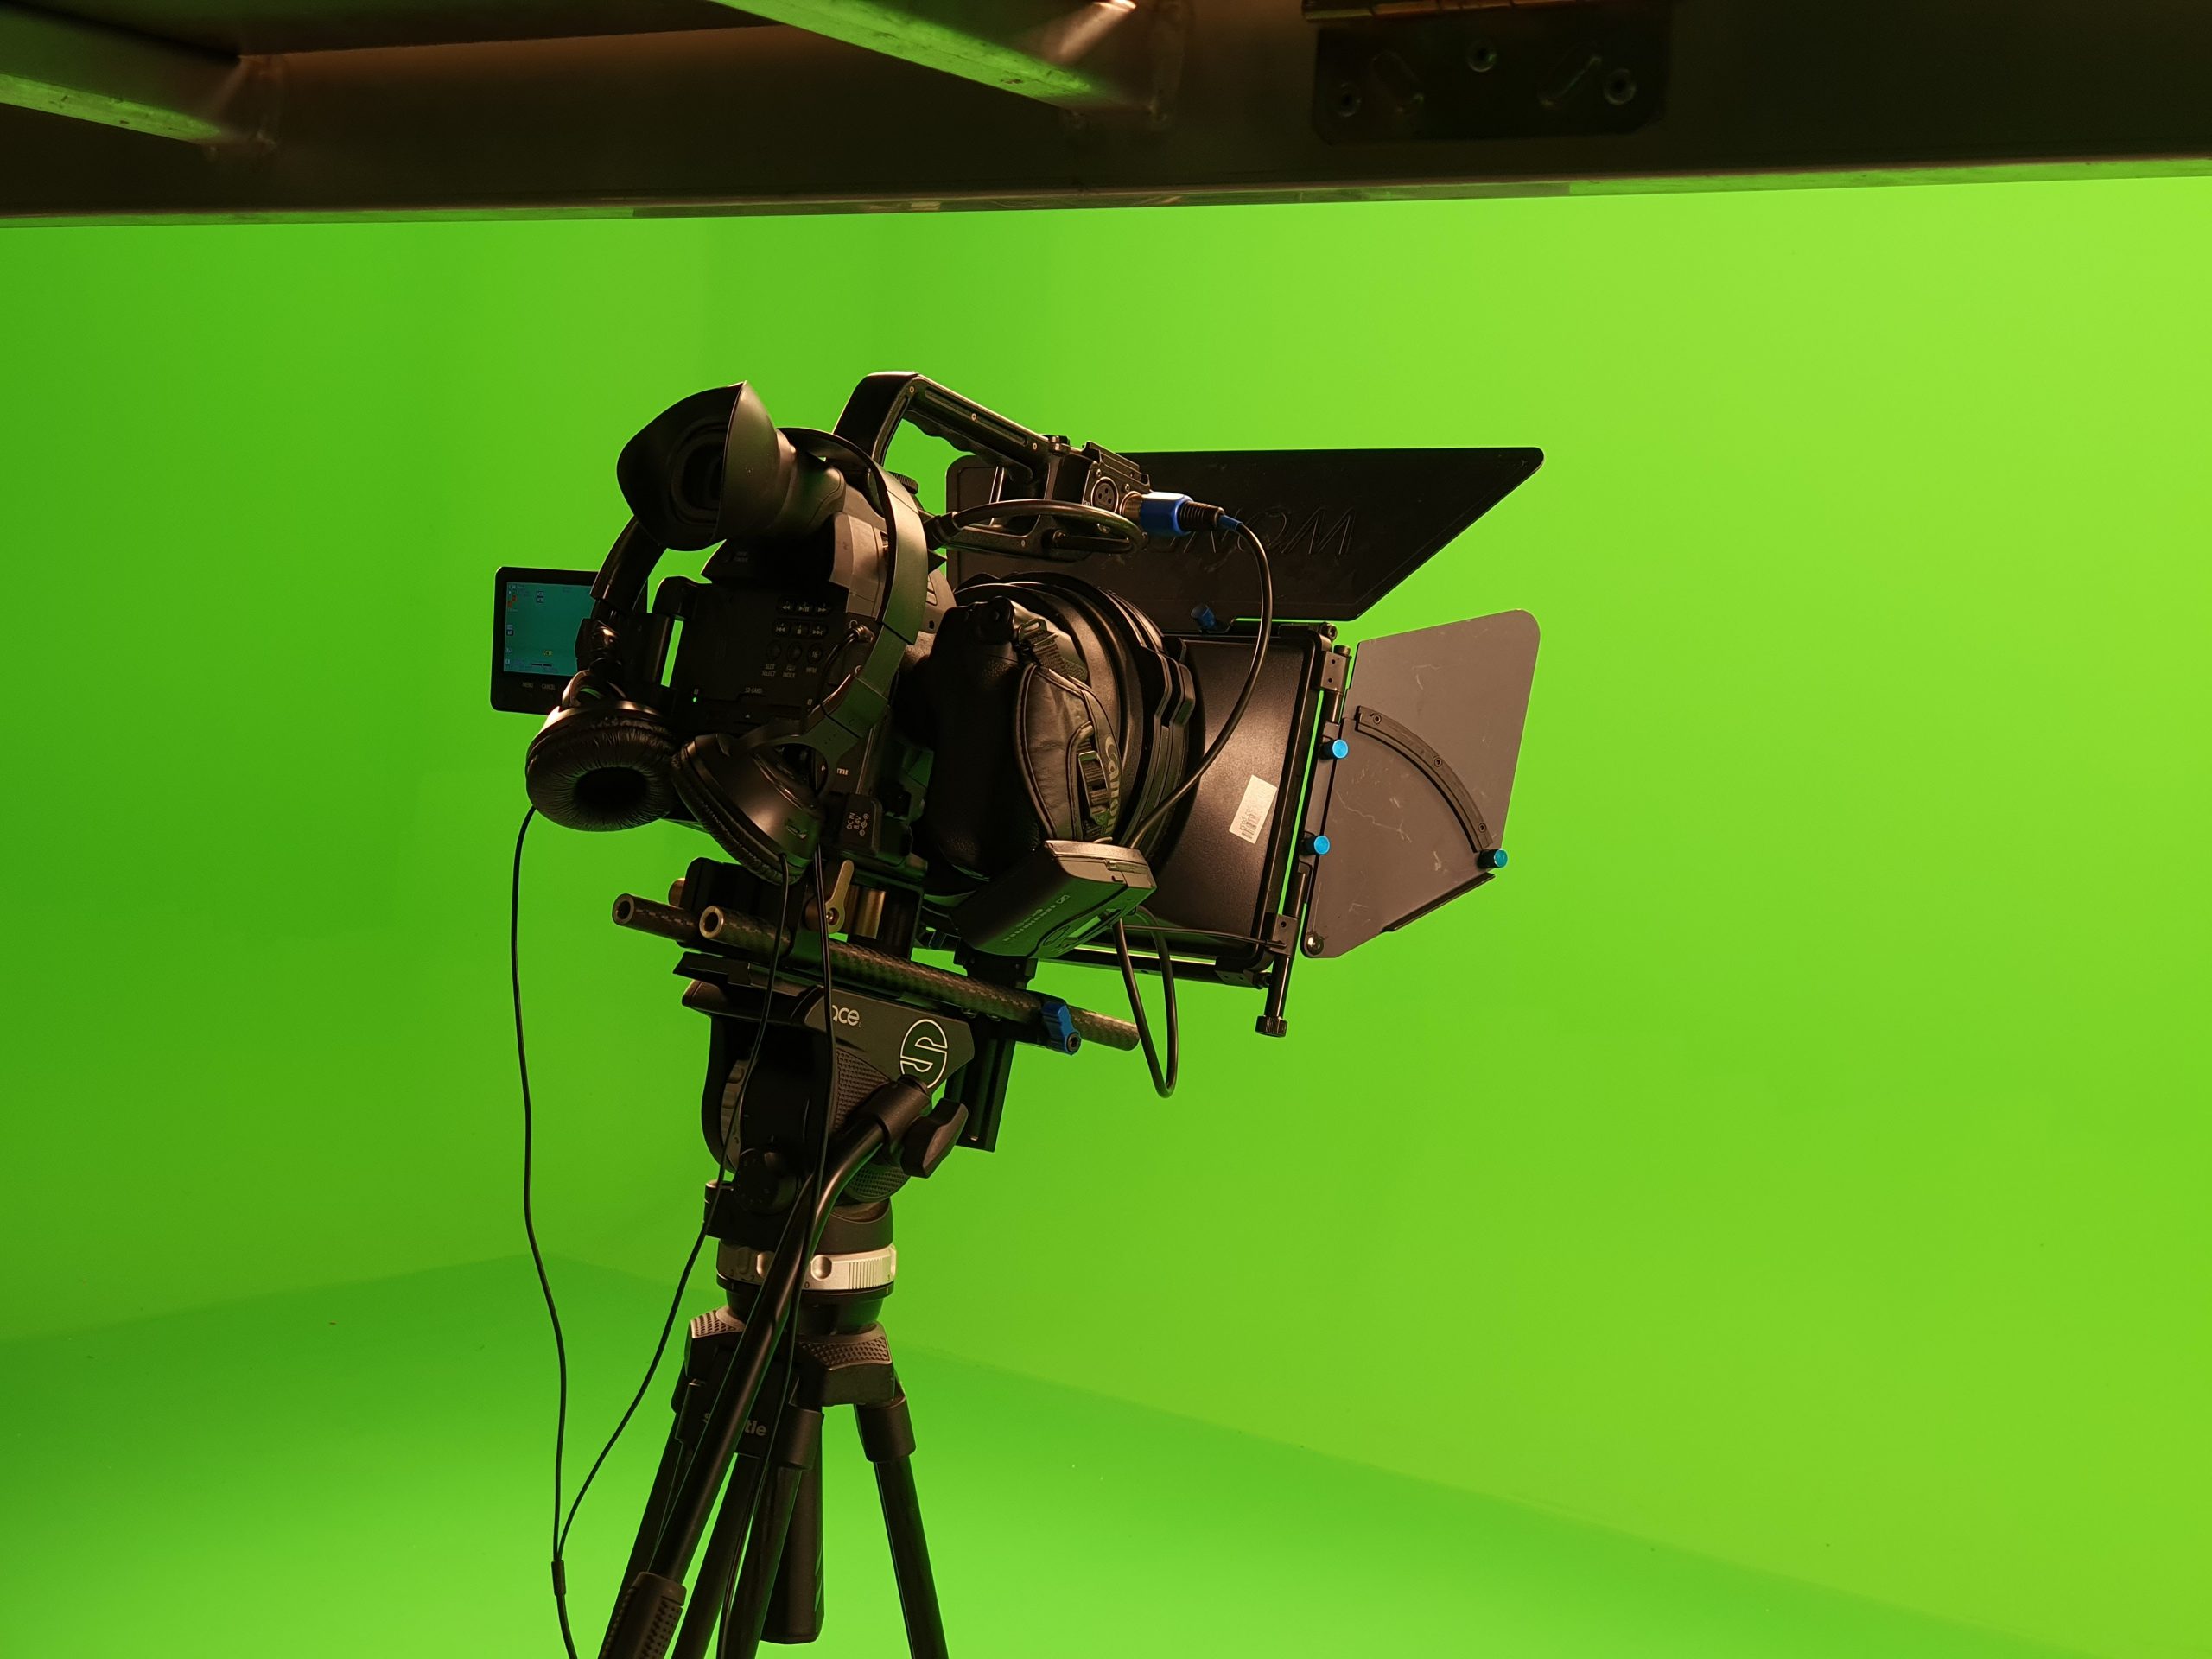
So, you have your camera, lighting, audio equipment, plenty of memory cards and batteries, as well as tripods and light stands, you’ve set up your green screen and your talent has just arrived. So far so good? Maybe…
You can have everything in place from gear to casting to location permissions and background noise under control. But, if you don’t know how to correctly light your subject sitting in front of a green screen, you could end up having to re-shoot the entire interview.
But that won’t be you, because you will have read our handy guide on how to light for a green screen interview.
Setting Up Your Green Screen Background
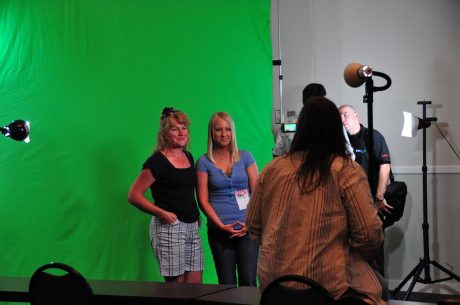
A wrinkled or creased green screen can create imperfections in the final composite image, making it more difficult to key out the green screen.
To set up your green screen background, start by finding a flat, even surface to hang or place the screen. If you are using a fabric green screen, make sure it is stretched tight and smooth, with no wrinkles or creases. If you are using a painted wall or a green screen backdrop, make sure the surface is clean and even, with no bumps or imperfections.
Once you have set up your green screen, take a moment to check it for wrinkles and smooth out any that you find. This will help ensure that your green screen is as smooth and even as possible, which will make it easier to key out in post-production.
If you’re looking to set up your first green screen for your studio to use in conjunction with your video interview shoots, there are a few different materials to consider. These can include fabric, paint, and paper backdrops. Each type of material has its own advantages and disadvantages, so the best choice will depend on your specific needs and budget.
Fabric green screens are a popular choice because they are easy to set up and take down, and they can be easily stored when not in use. Fabric green screens are available in a variety of sizes and materials, including muslin, polyester, and wrinkle-resistant fabric. One disadvantage of fabric green screens is that they may require touch-ups or replacement over time, especially if they are used frequently.
Painted walls can also be used as green screens, but they require a dedicated space and cannot be easily moved or stored. Painted walls can be a good option if you have a permanent studio space, but they may not be practical for smaller budgets or for those who need to set up and take down their green screen on a regular basis.
Paper backdrops are a more budget-friendly option, but they are less durable and may require frequent replacement. Paper backdrops are also more prone to creasing and wrinkling, which can create imperfections in the final composite image.
Ultimately, the best material for a green screen will depend on your specific needs and budget. Fabric green screens are a good all-around choice for most video shoots but painted walls and paper backdrops can be good options in certain situations.
Illuminate Evenly and Avoid Shadows or Hotspots
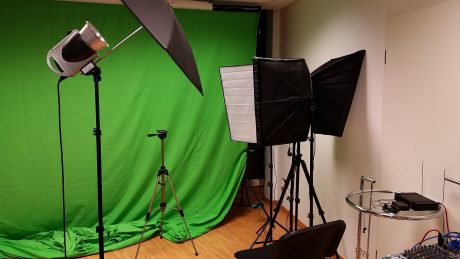
When lighting a green screen, it is important to set up your lighting in a way that evenly illuminates the screen, without creating shadows or hotspots. This will help ensure that the green screen is evenly lit, which will make it easier to key out in post-production.
To evenly illuminate the green screen, you will need to use multiple light sources. It is generally recommended to use at least three lights: a key light, a fill light, and a backlight. The key light should be the brightest and should be positioned in front of the subject at a 45-degree angle. The fill light should be dimmer and should be placed on the opposite side of the key light. The backlight should be placed behind the subject and used to separate them from the green screen.
The key light is the main light source and should be the brightest of the three lights. It is typically positioned in front of the subject at a 45-degree angle and is used to illuminate the face and body of the subject. The key light should be bright enough to provide good overall illumination, but not so bright that it creates harsh shadows or overpowers the other lights.
The fill light is a secondary light source that is used to fill in shadows and add dimension to the subject. It is typically positioned on the opposite side of the key light and is set at a lower intensity. The fill light helps to balance out the key light and create a more natural-looking lighting setup.
The backlight is a third light source that is positioned behind the subject and is used to separate them from the green screen. The backlight should be dimmer than the key light and fill light and is used to create a subtle rim light around the edges of the subject. This helps to separate the subject from the green screen and add depth to the image.
It is important to avoid creating shadows or hotspots on the green screen, as these can make it more difficult to key out in post-production. To avoid shadows, make sure that the lighting is positioned at a sufficient distance from the green screen and that the light is diffused to avoid harsh shadows. To avoid hotspots, make sure that the lighting is evenly distributed across the green screen and that there are no areas of the screen that are significantly brighter or darker than others.
In addition to using multiple lights, you can also use reflectors or diffusers to help evenly distribute the light across the green screen. Reflectors can be used to bounce light back onto the green screen, while diffusers can be used to soften the light and reduce harsh shadows.
Light Your Subject Consistently and Avoid Shadows on the Face
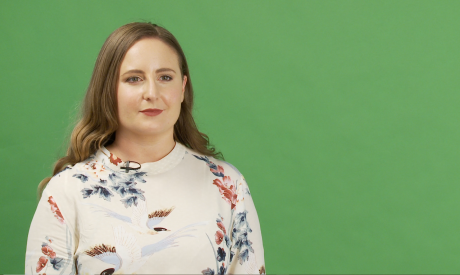
In addition to lighting the green screen evenly, it is also important to make sure the lighting on your subject is consistent and that there are no shadows on their face. This will help ensure that your subject looks natural and well-lit in the final composite image.
To avoid shadows on your subject’s face, it is important to position the lights in a way that minimises shadows. One way to do this is to use a softbox or umbrella to diffuse the light, which will help to soften any harsh shadows. You can also use a reflector to bounce light back onto the subject’s face, which can help to fill in any shadows.
In addition to using multiple lights, you can also use reflectors or diffusers to help evenly distribute the light across your subject’s face. Reflectors can be used to bounce light back onto the face, while diffusers can be used to soften the light and reduce harsh shadows.
Diffuse the Light and Avoid Harsh Shadows
A diffuser is a device that is used to soften and evenly distribute light, which can help to avoid harsh shadows and create a more natural-looking lighting setup. Diffusers are often used in photography and videography to create softer, more diffuse light that is easier on the eyes and more flattering to the subject.
There are several types of diffusers that can be used in lighting a green-screen video interview, including soft boxes, umbrellas, and scrims. Softboxes are large, box-shaped diffusers that are placed around a light source and used to create a softer, more evenly distributed light. Umbrellas are another type of diffuser that can be used to soften the light. They are available in both reflective and shoot-through varieties and can be used to create a wide range of lighting effects. Scrims are thin, translucent screens that can be placed in front of a light source to reduce the intensity of the light and create a softer, more diffuse light.
Using diffusers can help to soften the light and avoid harsh shadows, which can create a more natural-looking lighting setup and make your green screen video interview look more polished and professional. It is generally a good idea to use diffusers whenever possible, especially when lighting a green screen, as they can help to create a smoother, more even lighting setup that will be easier to key out in post-production.
Avoid Using Green Light Sources
When lighting a green screen video interview, it is important to avoid using green light sources, as they can cause colour contamination on the green screen. Colour contamination occurs when the green light from the light source reflects off the green screen and mixes with the green screen colour, creating an uneven and unnatural-looking colour balance. This can make it more difficult to key out the green screen in post-production and can result in an inferior final composite image.
To avoid colour contamination, it is important to use light sources that do not produce green light. This typically means using tungsten or daylight-balanced light sources, rather than fluorescent or LED lights. Tungsten lights produce a warm, orange-coloured light that is less likely to cause colour contamination, while daylight-balanced lights produce a cool, blue-coloured light that is also less likely to cause colour contamination.
In addition to using the right type of light source, it is also important to avoid using green gels or filters on your light sources, as these can also cause colour contamination. If you need to use a coloured light source for a specific effect, it is generally best to use a gel or filter that is a different colour than the green screen, such as red or blue.
By avoiding green light sources and using the right type of light source and filters, you can help to minimise colour contamination and create a more natural-looking and professional-quality green screen video interview.
Use a Monitor
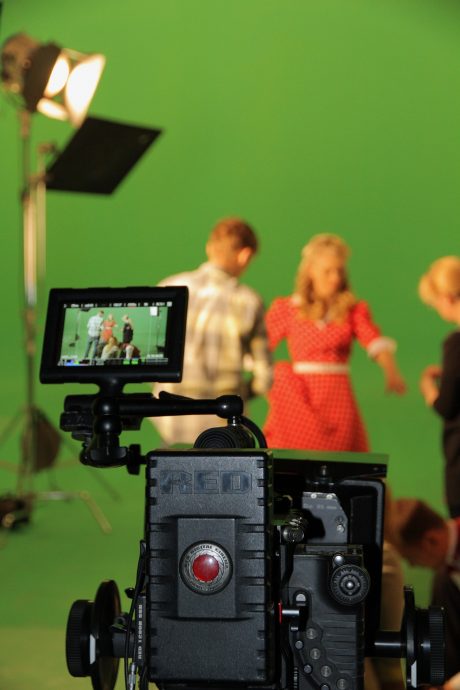
Once you have set up your lighting and green screen for a green screen video interview, it is important to check that everything is properly set up and that the lighting is even and the green screen is properly lit. This will help ensure that you get the best possible results in post-production and that the final composite image looks professional and polished.
To check your lighting and green screen, you can use a monitor or camera to view the scene as it will be recorded. This will allow you to see exactly how the lighting and green screen look and make any necessary adjustments to ensure that everything is properly set up.
When checking your lighting and green screen, look for any hotspots or uneven lighting on the green screen, as these can make it more difficult to key out in post-production. Make sure that the lighting is evenly distributed across the green screen and that there are no areas that are significantly brighter or darker than others.
It is also important to check the lighting on your subject to ensure that it is consistent and that there are no shadows on the face. Make any necessary adjustments to the lighting to ensure that the subject is well-lit and looks natural in the final composite image.
By checking your lighting and green screen with a monitor or camera, you can ensure that everything is properly set up and that the final composite image will be of the highest quality. This will make it easier to key out the green screen in post-production and create a professional-quality green screen video interview.
Lighting a green screen video interview can be a challenging task, but with the right setup and techniques, it is possible to create professional-quality results that will look great and ‘wow’ your client.
If you’re interested in learning more about film or video production techniques, why not enrol for one of our short intensive courses.

